8 Dos And Don’ts Of Using Led Photography Lights
Photography is a hobby that can be easily turned into a career path. That is the reason why many people consider using the camera as a way of expressing their creativity and coming up with something beautiful.
In the beginning, learning how the camera and the other parts of the equipment work can be difficult. Choosing the lighting type is one of the first big dilemmas every photographer has. While both flashes and LED photography lights have their good and bad sides, it all depends on what are you going to photograph.
In this article, we’ll talk about the dos and don’ts of using LED photography lights. This will help you to use your equipment properly, and come up with better pictures. Keep reading and learn more.
1. Adjust the lighting in real-time
When using flashes, you can only adjust the power after seeing the photo results. This can be time demanding and frustrating until you reach the desired light strength. Unlike the flashes, the led photography lights are constantly working, so you can adjust the lighting in real-time.
Setting up the scenery quickly, and coming up with the right amount of light is very beneficial, especially for beginners and inexperienced photographers. The use of led video light for photography allows them to learn more about the lighting and adjust the scenes precisely.
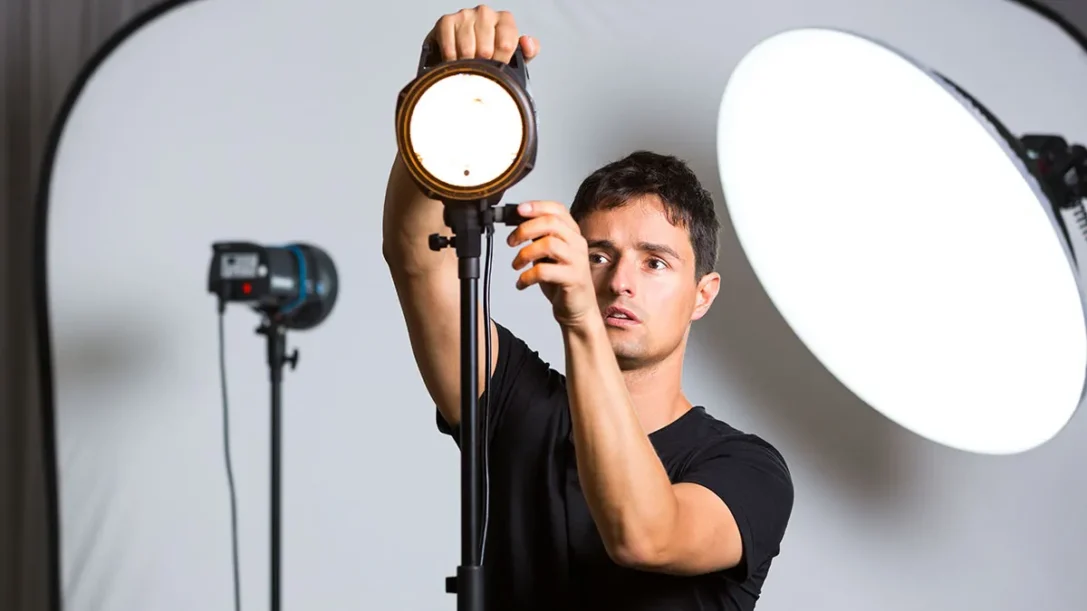
2. Control the temperature of the light
Another thing you should do is control the temperature of the light. Unlike flashes where they only work for a second and the temperature is usually the same, the led light panel photography can be adjusted. They come with different balances, so choosing the right tone can help in enhancing the colors of the picture you are taking.
Besides the white tones, there are many more colors that can be used. Since color is one of the biggest determinants of the photography’s theme, using led photography lights can surely contribute to your work. At least, it will save you a lot of time in the editing process, which is surely beneficial.
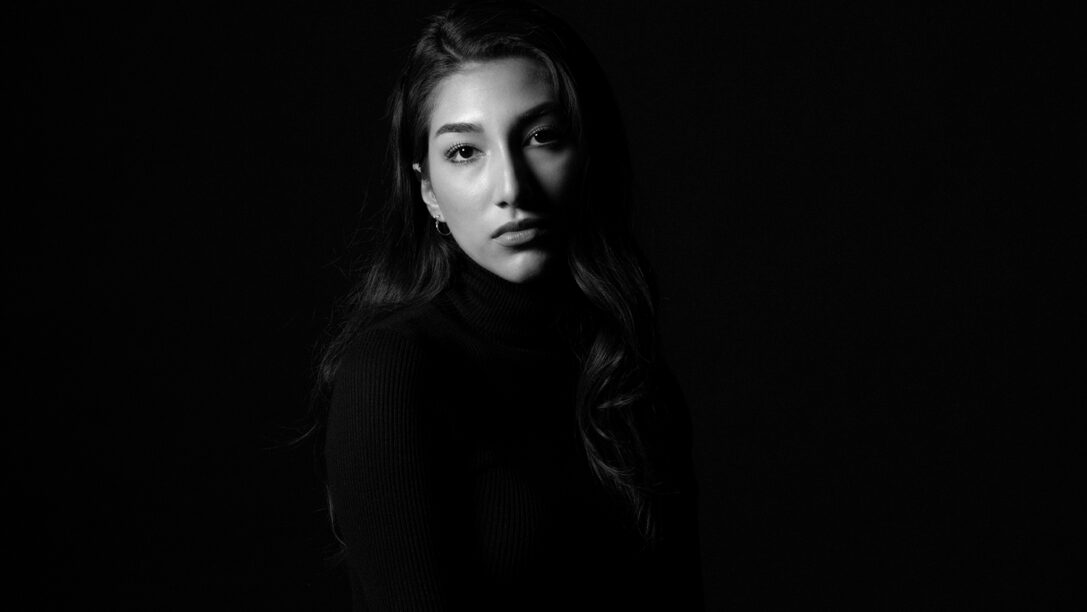
3. Accentuate the eyes

Because the lighting is continuous and is not as strong as the flash, the eyes are not getting dilated that much. For that reason, you’ll be able to get better accentuation of the eyes, especially if you are working on portraits.
However, be sure not to point the LED directly at the model since looking at the light will be uncomfortable. Accentuating the eyes while the model is having a spasmodic face is not something you would want to happen.
4. Use it both for photography and recording
The main benefit is that you can use your led photography lighting kit for recording as well. The versatility that this lighting source offers is surely beneficial when you can explore different fields.
The constant lighting is essential in coming up with a good video. This lets you control the scene, and give enough light to the models or objects you are filming. When working in both fields, your equipment can get too big. However, COLBOR offers led photography lights for studio and home shooting that can help in achieving great results in both fields.
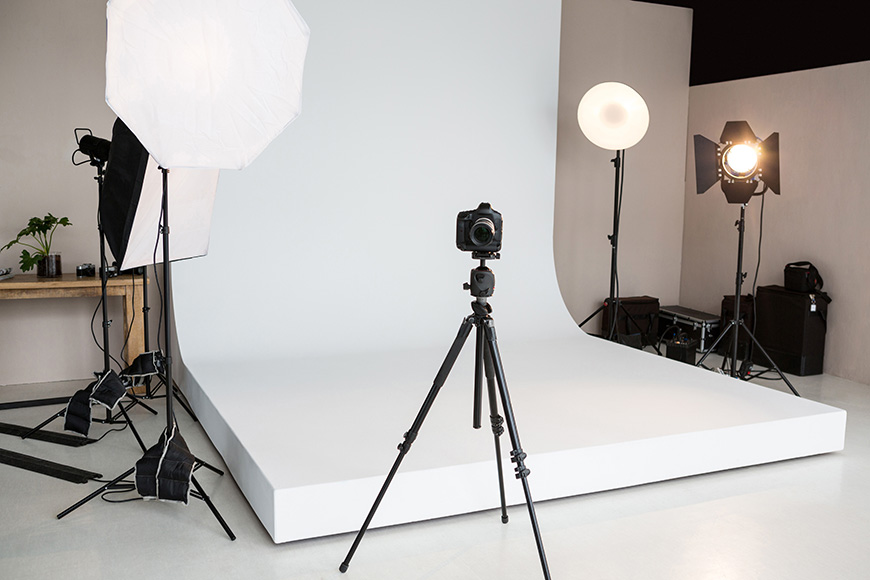
5. Don’t point the light in the wrong place
Some of the things you want to be careful about are the pointing direction of the lights. This is where most beginners make mistakes that completely ruin the picture. For that reason, studying proper placement is essential.
Depending on the field you work in, the placement is different. You have to be careful in accentuating the things that will make the photo great while hiding others inside the shadow.
For example, while doing portraits, place the lighting source at around 40 to 50 degrees on the side of the model. This will let you enlighten one side of the face more than the other which contributes to a better picture.
Another method is by using led ring light photography. This is mostly suitable for at-home use and it works great for self-recording and coming up with great social content.
Although these were simple examples, be sure to explore what works best in your case. Sometimes doing unconventional things can turn into a great outcome. At last, creativity is what matters, so doing what you think works best is most important.
6. Don’t use small apertures
To use the led lights for the photography studio to the fullest, you will need objectives with a large aperture. That will help you to absorb most of the reflective lighting which will result in creating better photos. For that reason, while working with led sources, be sure to leave the small aperture objectives behind.
7. Don’t forget the accessories
Coming up with better results is usually easier when you are using certain accessories. For example, some distributors are placed in front of the lighting source. They contribute to making the object more enlightened, which makes the photo instantly better.
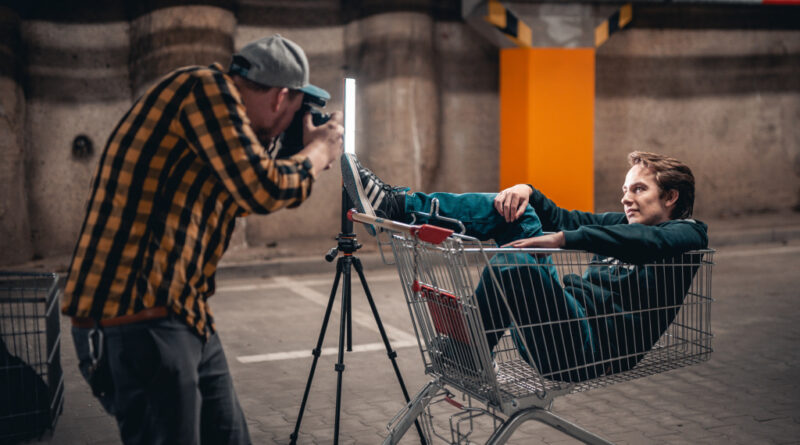
In addition, using tripods or other stabilizers is essential while working with LEDs. The shuttering speed is set slower so any movements can just ruin the result. For that reason, mounting the camera on something stable is highly important in this case.
8. Don’t completely rely on one LED source
It is important to understand that LED sources are not as strong as flashes. This means that sometimes, you might need more sources to come up with enough lighting that will suit the scenery correctly. In addition, you can try moving the source closer if it is possible which only works for tinier perspectives.
For that reason, getting multiple LEDs is something you might want to consider. They do not use a lot of power, and they are running cold so you’ll don’t have to worry about any obstructions or problems of any kind. Lastly, you will be able to combine more colors which will make your photos amazing and universal.
Conclusion
Like any other product, to achieve proper results there are some things you should and shouldn’t do. While we have listed some of the things you will want to exploit while being careful with others, you will learn a lot more if you work with it.
It is important to understand that LED photography lights are a great solution that offers many features to the photo. Be sure to try them out, and see what is the best led light for photography in your case.