7 Basics Steps All Beginners Should Know When Casting Metal
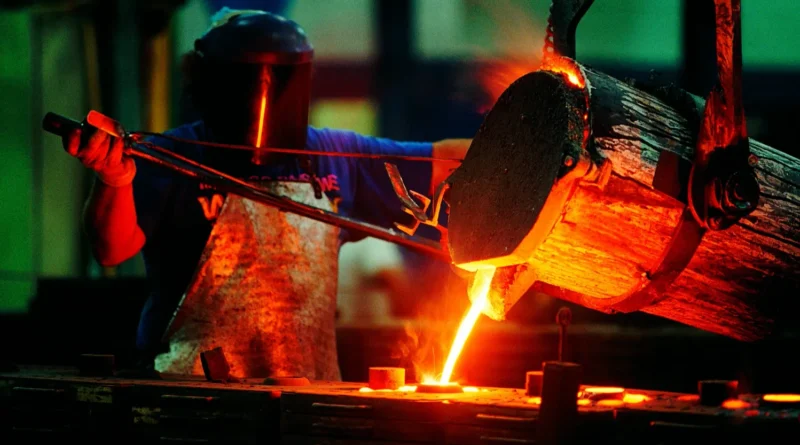
Manufacturing and fine art both employ the process of metal casting. It is a 7,000-year-old technique. A metal cast item is created by transferring molten metal from a crucible to a mold. After that the item is removed from the mold and then cooled. There are several traditional methods of casting, such as lost-wax casting, mold casting, die casting, and sand casting, to mention a few.
If you are new in this field, you probably do not have much idea about this process. Well, to help you we have formulated a list of tips you must be aware of before you step into this field.
Why Use This Process?
This type of casting has been used for centuries to create things ranging from tools and swords to sacred artifacts. When it comes to creating intricate forms and patterns, casting is a cost-effective technique to get the job done. The casting technique has a wide range of applications in production, particularly in the fields of technology and transportation. When casting anything, the size might vary from a few grams to hundreds of pounds. Cast forms may range from basic to sophisticated, depending on the intricacy of the design.
Molds that can be only used once are used in the disposable mold casting process. Making your own disposable mold is a simple and low-cost process. It is ideally suited for low-volume production.
Non-disposable molds are molds that may be used again and again for casting metal. They can survive the high temperatures of molten metal better than other materials because they are stronger. Metals like steel and cast iron are popular choices for permanent molds because of their strength, minimal porosity, and heat endurance. They are useful for producing several cast objects.
Creating a mold and a pattern, then pouring molten metal into the mold, is the simplest method of casting. After that, you may remove the solid casting and put the finishing touches on your design. Castings of all forms, shapes, and sizes may be made using this method. For more information on what is casting, check this.
1. Creating A Pattern
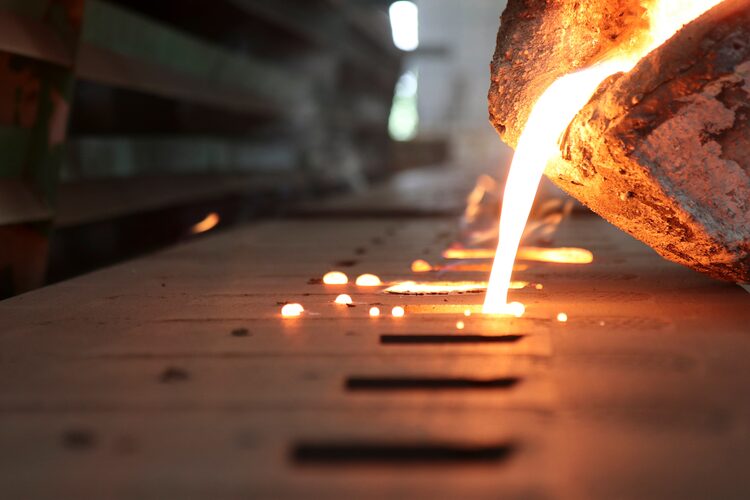
You may use a 3-D model of your final cast. Wax, sand, plastic, or even wood might be used to model it. It is possible to mass-create wax molds by using molds composed of plaster or silicone, both of which can’t take the heat of melting metal. You should take into consideration any predicted shrinking of the metal while you are forming your design. Sprues may be used to open patterns so that molten metal can flow into the mold.
2. Prepare A Mold
Your mold is ready after you have made a design. There are two types of molds you may make: a reusable mold (usually made of metal) and a single-use mold (often made of sand). Each of these mold-making techniques are tailored to a particular kind of casting metal and pattern complexity. You can use a kiln to burn out a design if you’re dealing with wax or plastic.
3. Decide Which Metallic Alloy To Use
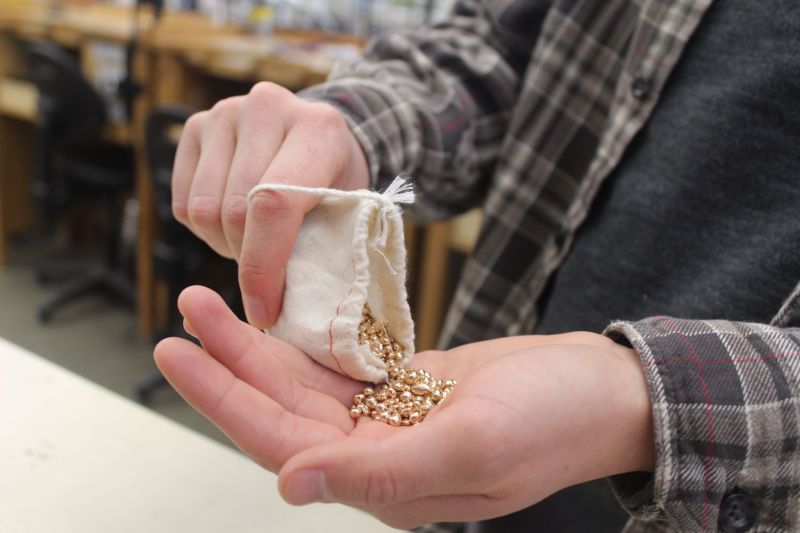
Alloys, whether ferrous or nonferrous, are used to make all castings. An alloy is a compound composed of a number of different elements mixed together to provide the greatest possible mechanical characteristics. Steel, gray iron, and malleable iron are ferrous alloys. Aluminum, bronze, and copper are the non-ferrous alloys most typically used in casting. When working with precious metals in a jewelry studio, you may use silver, copper, gold, or platinum.
4. Melt The Alloy In The Furnace
Each alloy has a variable melting point, hence the melting procedure will be different for each of the alloys. Melting is the process of heating a solid alloy in a crucible or furnace to a high temperature.
5. Pour Into The Mold
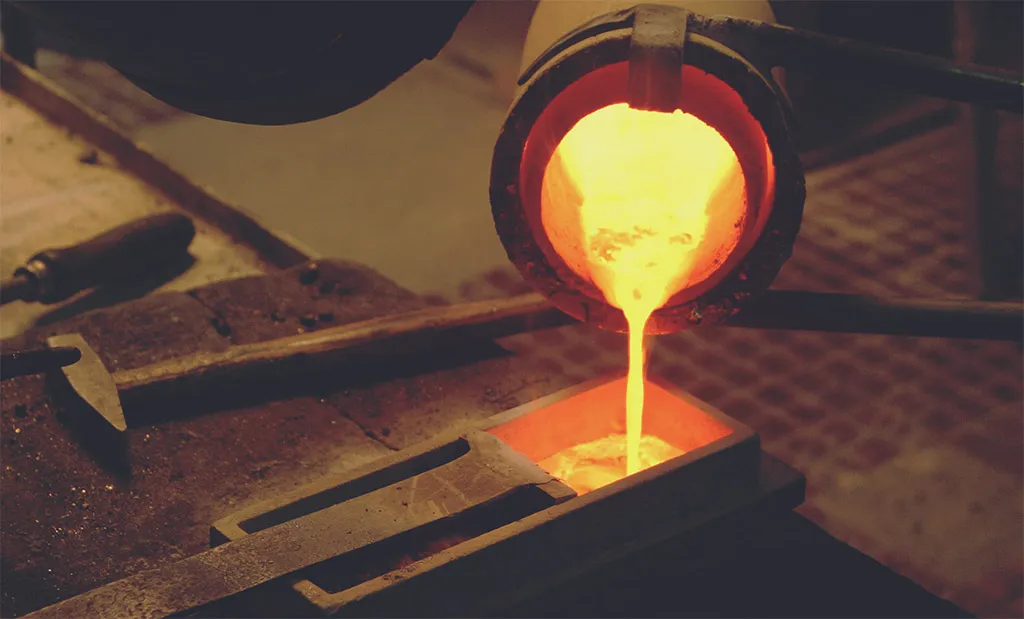
Pour the molten metal into the mold’s interior. If the casting is tiny, the metal may be poured straight into the mold from the crucible where it was heated. It is possible that a small group may be required to help with the bigger castings, which would need heating and then pouring the metal into the mold in a larger vessel.
When pouring molten metal, be careful to follow all prescribed safety guidelines. You should always use safety goggles and gloves, as well as wear clothes made of natural fibers and long pants and sleeves. A well-ventilated area is essential to avoiding harmful gasses while working. A chemical fire extinguisher and a free path between the furnace and mold are essential precautions. Before going on to the next stage, allow the mold to cool.
6. It’s Time To Remove The Casting From The Mold And Inspect It
You may remove the metal from the mold after it has cooled and set. You may remove the mold from the casting if you use a single-use mold. After the metal has firm, if you used a plaster investment, you’ll want to dampen it with water. Using water as a solvent will aid in removing the mold. To remove your casting from a reusable mold, you may utilize ejector pins.
7. Polishing
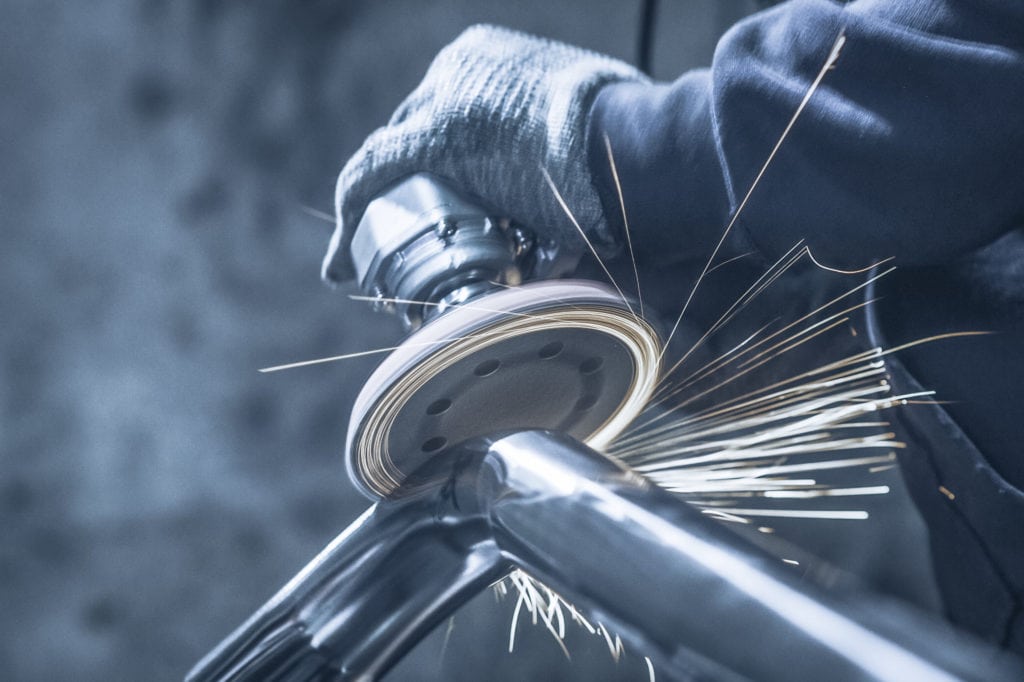
Your cast of solid metal should be polished! If you’ve cast a metal item, you may need to remove the surplus mold material by scouring it with water or using clippers to remove the casting gates.
Final Word
No matter whether you want to cast a little ring or a complicated part for a vehicle’s engine, all you need is a little patience and some practice to master these steps. In the end, the sort of casting you choose to pursue will rely on your vision for the ultimate result. Gold, silver, and platinum are the best metals to work with if you’re thinking about a career in jewelry design. Make sure to follow the steps properly to get the desired results.
